
3.1: Create A Blank Presentation
A blank presentation is the right starting point when you already know the learning structure or need precise control over the design. “Blank” does not mean unstyled: for a fixed slide lesson you choose a template, and for a fluid lesson you choose a theme.
Before You Begin
Sign in, switch to Teacher View, and open My work. Decide whether learners should move through fixed-size pages or scroll through content that adapts to its contents.
1. Open The Create Blank Dialog
Select Create Blank in the dashboard header. The dialog opens with Slide Layout selected.
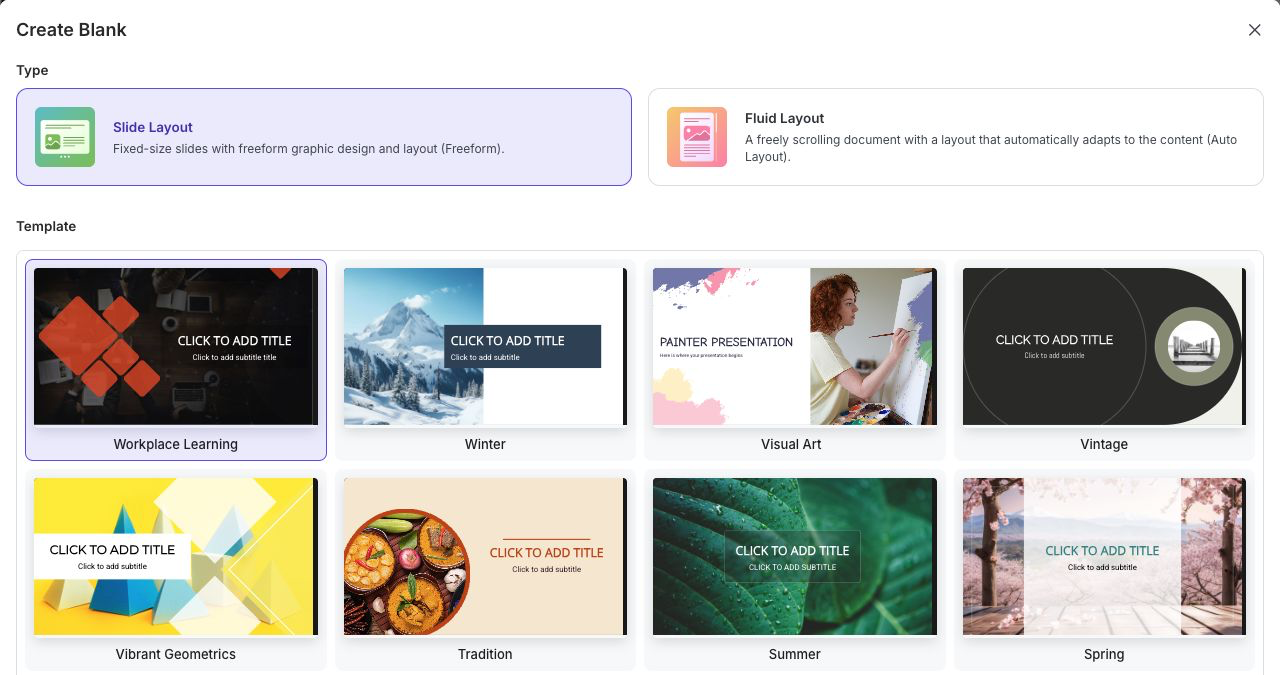
The Type choices have different purposes:
| Type | Choose it when... |
|---|---|
| Slide Layout | You need fixed-size slides, freeform positioning, or a conventional presentation experience. |
| Fluid Layout | You want a freely scrolling lesson whose layout and page height adapt to the content. |
You cannot convert the complete presentation between these two layout systems later, so choose the type that matches the learner experience you intend to deliver.
2. Choose The Starting Design
For Slide Layout, select a card under Template. A template provides a coordinated set of slide designs; every object can still be changed after creation.
For Fluid Layout, select a card under Theme. If your workspace contains organization-specific themes, turn on Custom themes to include them.
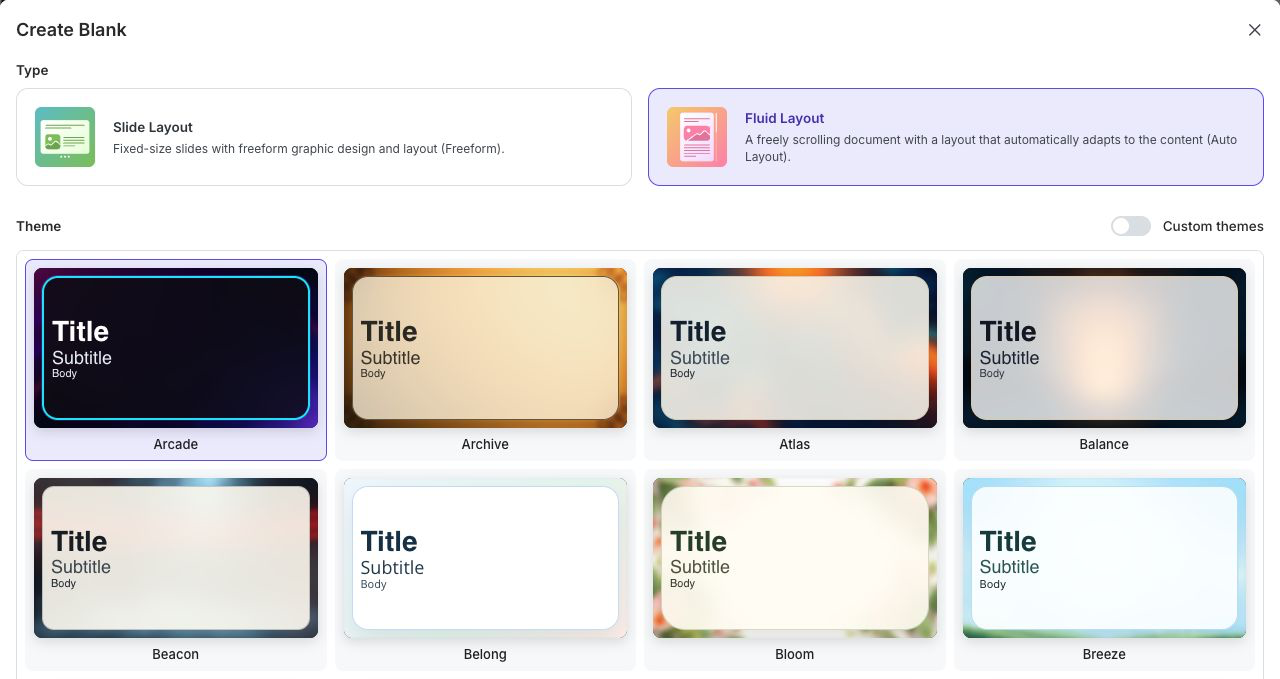
The highlighted card is the design uPresenter will apply. Choose for readability and audience fit, not only appearance. High contrast, clear type, and restrained decoration make learning content easier to follow.
3. Create And Name The Lesson
Select Create. uPresenter creates an Untitled Lesson and opens it in the editor.
To give it a useful name:
- Select Untitled Lesson in the editor's top bar.
- Enter a name of up to 100 characters.
- Press Enter or select somewhere outside the name field to save it. Press Escape if you want to cancel the edit.
A name such as “Warehouse Fire Safety — New Starters” is easier to find and assign than a general name such as “Training.”
4. Build A Safe First Draft
Add the lesson structure before polishing individual pages:
- Create the title, learning objectives, main instructional sections, practice, and summary.
- Add questions where learners need to demonstrate understanding.
- Use Present regularly to check the learner experience.
- Confirm completion, success, sharing, and export settings before delivery.
uPresenter saves editor changes automatically. Check the save status in the top bar before closing the tab or moving to another device.
If Creation Does Not Start
- If the design area keeps loading, check the network connection and select Retry when it appears.
- If Create is unavailable, wait for the templates or themes to finish loading and select a design card.
- If an expected custom theme is missing, confirm the active workspace and that Custom themes is on.
- If you chose the wrong layout type, return to My work and create a new lesson with the other type before adding substantial content.
Quick Check
Before continuing, make sure that you can:
- explain the difference between Slide Layout and Fluid Layout;
- choose a template or theme appropriate to that type;
- create the lesson and rename Untitled Lesson; and
- confirm that the editor is saving your work.
Previous: Use Notifications And What's New · Next: Create A Presentation With AI · Back to Part III · Back to the full guide