
1.2: Set Up Your Workspace And Create An Account
By the end of this section, your browser will be ready for uPresenter and you will know how to register with either an email address or Google. If you were invited by an organization, you will also know which identity to use.
Prepare Your Browser And Device
uPresenter runs in a web browser, but authoring asks more of the browser than simply viewing a page.
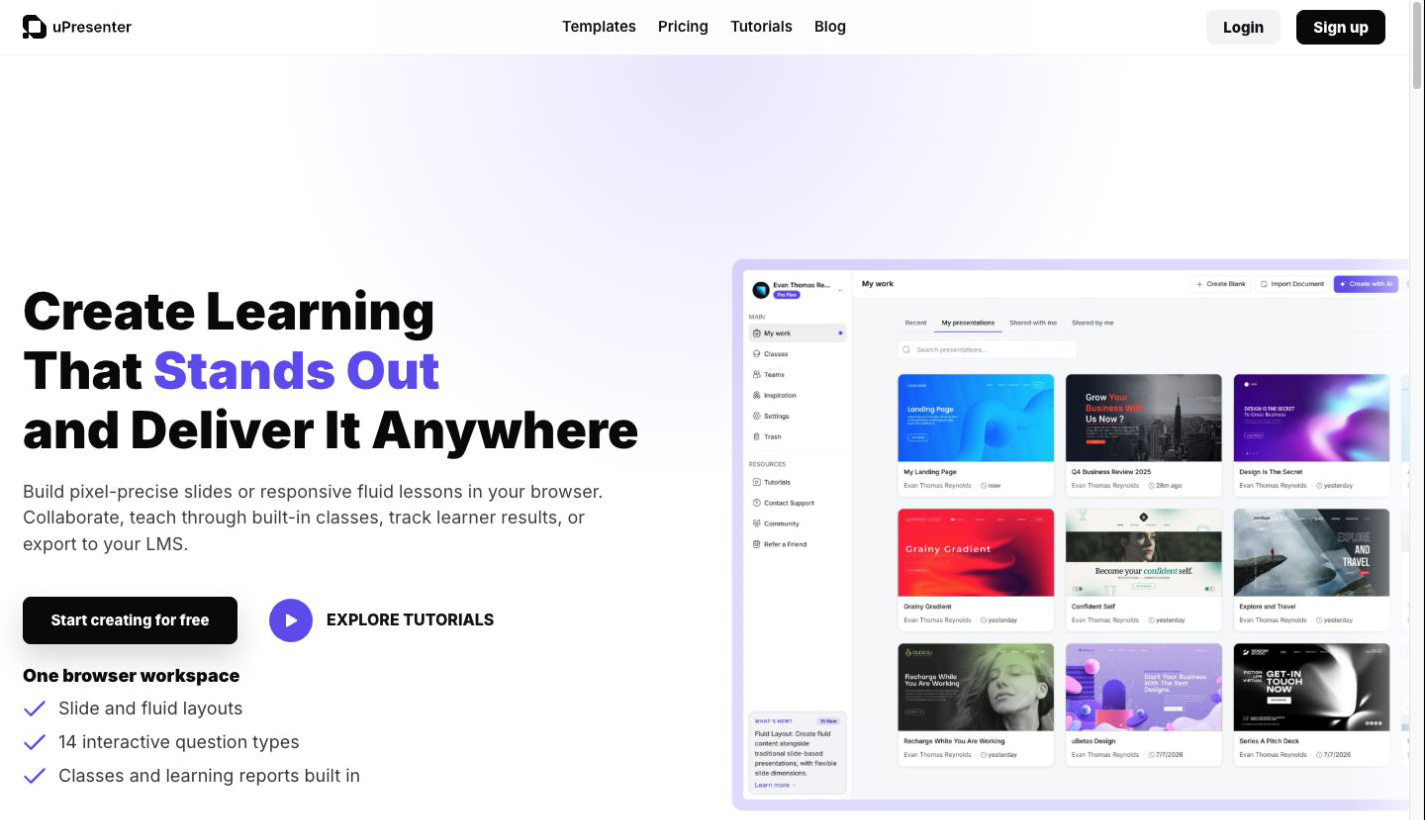
- Open uPresenter in a current version of Chrome, Edge, Safari, or Firefox. Keep the browser updated so the editor can use modern browser features.
- Use a desktop or laptop when building a complete lesson. The larger screen gives the canvas, toolbox, and properties pane enough room for detailed work.
- Use a phone or tablet for learner playback, review, and lighter work. A desktop is usually easier for precise layouts and object placement.
- Confirm that your internet connection is stable. uPresenter uses it to save changes, collaborate, generate AI content, upload media, and prepare some exports.
- Allow downloads from
upresenter.aiwhen your browser asks. Otherwise, an export can finish without the file being saved to your device. - If a uPresenter page does not open, check whether the browser blocked a popup or new tab.
- Allow microphone access only when you choose Record Audio. Normal editing and playback do not require microphone permission.
If you received a class, team, or shared-presentation invitation, keep it nearby. Register with the same email address that received the invitation so uPresenter can associate the account with the intended access.
Open The Registration Page
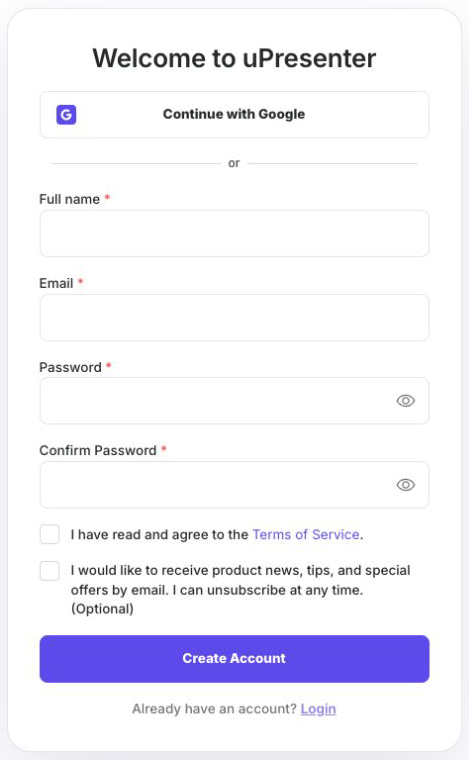
Open https://upresenter.ai, then select Sign up. The registration page offers two account methods.
Register With Email And Password
- Enter the name collaborators should see in Full name.
- Enter your email address. Use the invitation address when applicable.
- Create a password with at least eight characters, including an uppercase letter, a lowercase letter, a number, and at least one of
#?!@$%^&*-. - Enter the same password in Confirm Password.
- Open and read the Terms of Service.
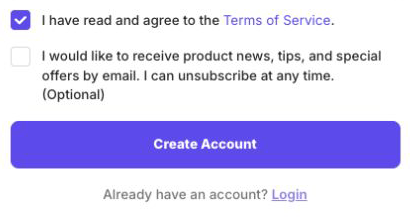
- Select I have read and agree to the Terms of Service. This choice is required to create the account.
- Decide whether to receive product news, tips, and special offers by email. This checkbox is optional and can be changed later.
- Select Create Account.
- When Account created! Please check your email. appears, open the newest message from uPresenter and follow its instructions.
- Return to uPresenter and select Back to login when prompted.
Register With Google
- Select Continue with Google.
- Choose the Google account that you want to use with uPresenter. If you received an invitation at a Google-managed address, choose that account.
- If uPresenter returns you to finish registration, read and accept the Terms of Service.
- Choose whether to receive optional marketing emails, then select Create Account to continue.
Google registration manages your sign-in identity, but uPresenter still needs your consent choices before finishing a new account.
Resolve Common Registration Problems
| What happens | What to check |
|---|---|
| The password is rejected | Confirm that it has at least eight characters, uppercase and lowercase letters, a number, and at least one of #?!@$%^&*-. |
| Confirm Password reports a mismatch | Retype both password fields so they match exactly. |
| The account cannot be created | Make sure the required Terms checkbox is selected. The marketing checkbox may remain clear. |
| The email is already registered | Select Login instead. If you do not remember the password, use Forgot password? in Section 1.3. |
| An invitation is missing after registration | Confirm that you registered with the address that received it, then open the original invitation again after signing in. |
| A Google account opens the wrong workspace | Sign out and repeat the process with the Google identity associated with the invitation or existing uPresenter account. |
Previous: Meet uPresenter · Back to Part I · Next: Sign In And Manage Account Access