
7.1: Add And Use A 3D Model
A 3D model is useful when a flat image cannot show enough detail. For example, learners can examine a product, machine part, building, scientific object, or piece of equipment from more than one angle.
In this section, you will upload a model, place it on a slide, choose its starting angle, and check the result in Present mode. You can follow along with your own model or download the small practice cube included with this section.
Before You Begin
Open the presentation you want to edit, then select the slide that should contain the model.
uPresenter accepts GLB and GLTF models up to 50 MB. A GLB file is often the easiest choice because the model, materials, and textures can be stored together. If you use GLTF, make sure the file is self-contained or that all of its referenced files are available; otherwise, the geometry may appear without its textures.
1. Upload The Model From The Media Menu
On the right side of the editor, select Media. Scroll to the 3D Model group, then select 3D Model.
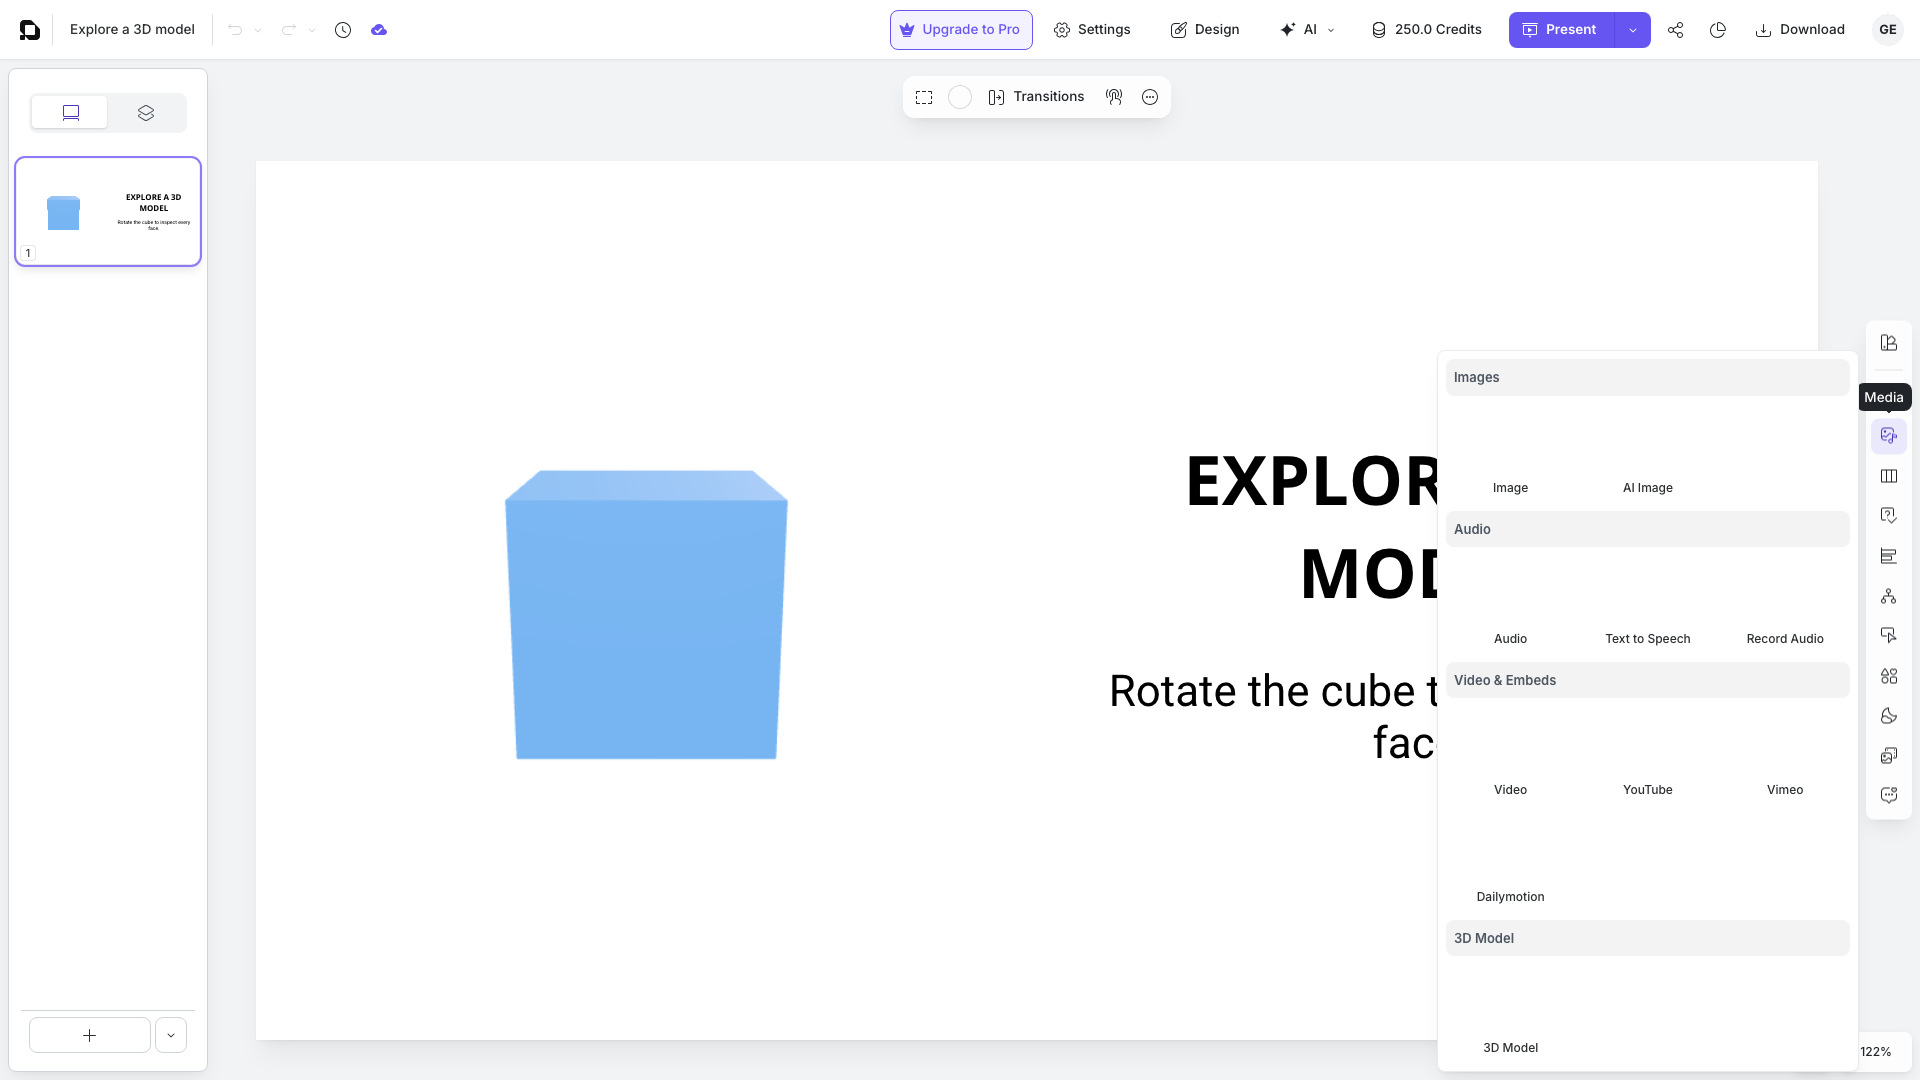
Your browser opens a file chooser. Select a .glb or .gltf file and confirm the upload. uPresenter uploads the file, adds it to the presentation's Resources, and inserts a 3D object on the current slide.
Give the upload a moment to finish before clicking elsewhere. Larger models may take longer to process and display.
2. Reuse A Model From Resources
You do not have to upload the same model again when it is already part of the presentation.
- Select Resources on the right side of the editor.
- Select the Models tab.
- Find the model you want. Use Search when the list is long.
- Select the model thumbnail to insert it on the current slide.
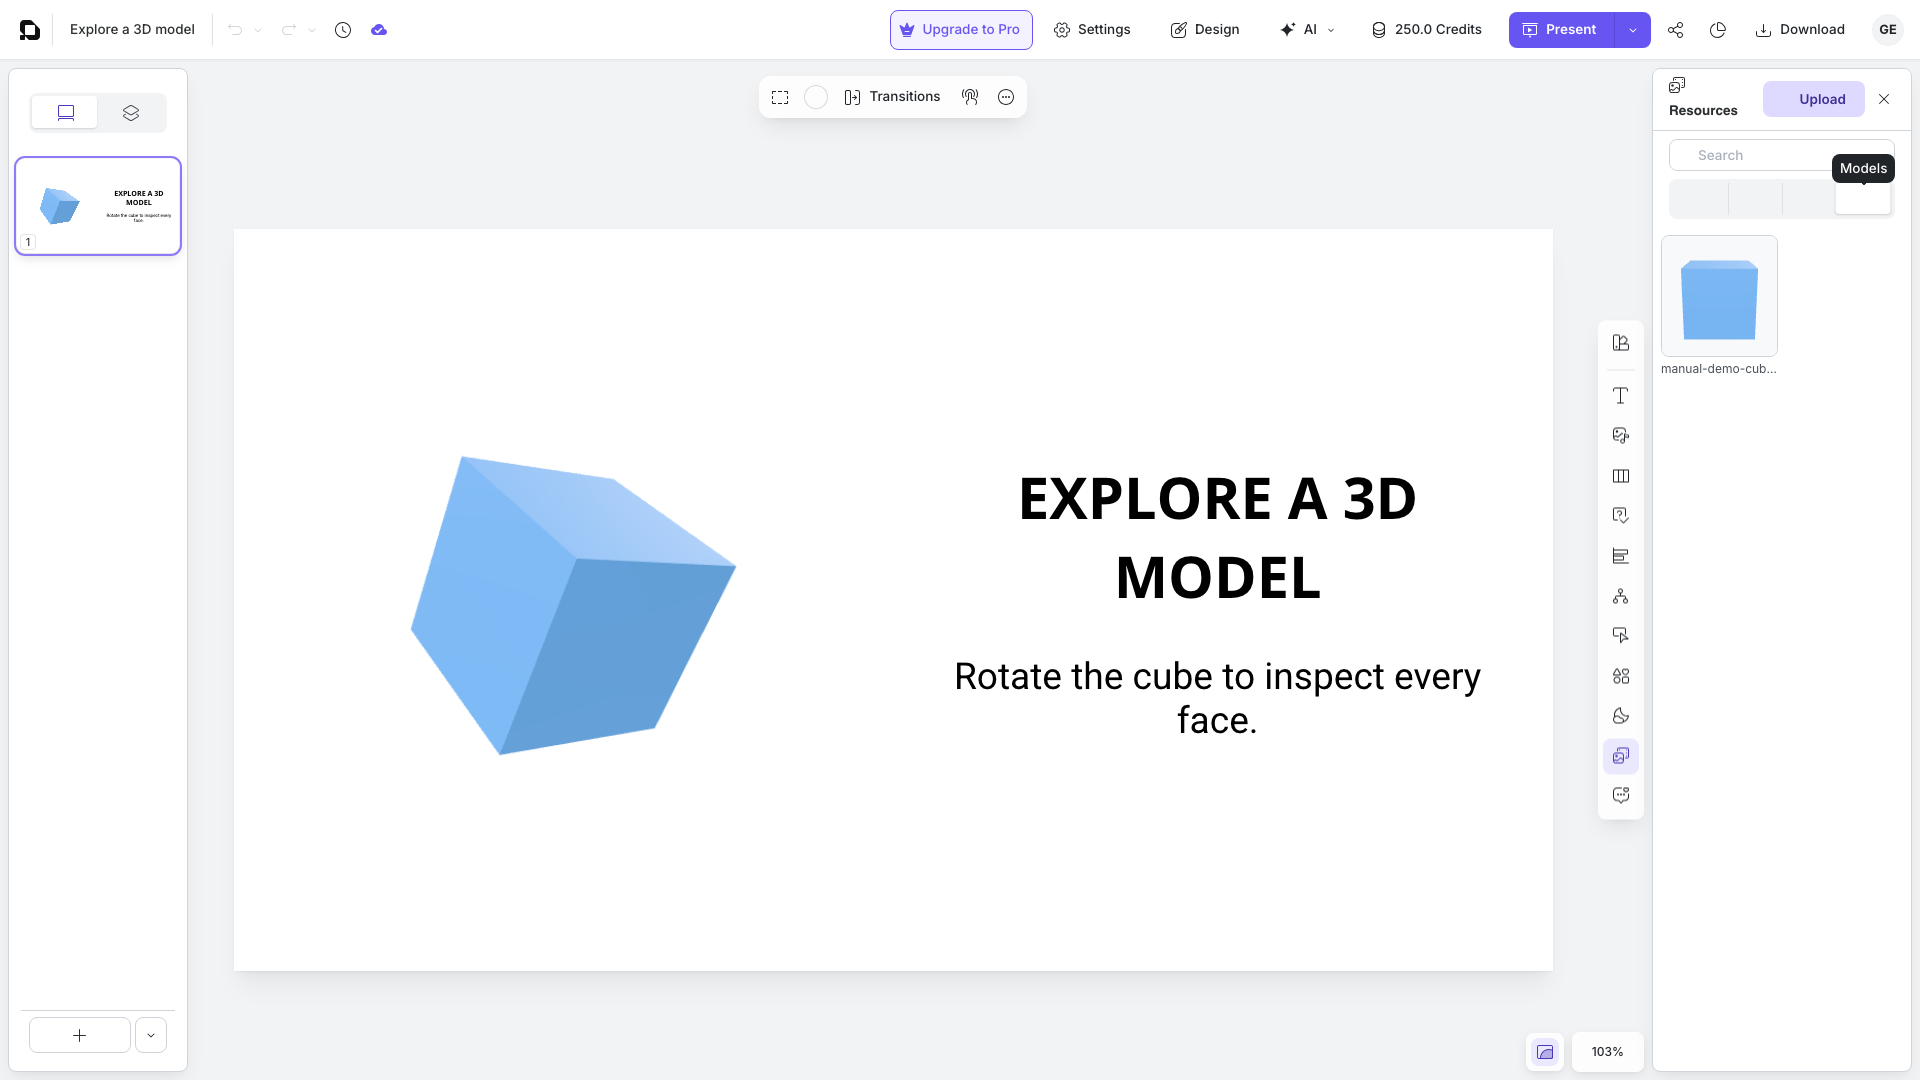
The same resource can be used on more than one slide. This keeps your presentation organized and avoids unnecessary duplicate uploads.
3. Place And Size The Model
When the model appears, it is already selected. Drag the object to place it where you want it. Use the handles around the selection box to change its size.
If you need exact values, open Properties, stay on the Styles tab, and enter the Left, Top, Width, and Height values under Size & Position.
Leave enough empty space around the model. A learner needs room to see its outline clearly while rotating it, especially on a small screen.
4. Choose The Starting View
With the model selected, open Properties and select the 3D Model tab. The panel contains two groups:
- Scene chooses an embedded scene when the model provides one. The control remains unavailable when the file has no compatible embedded scenes or animations.
- Model rotation sets the model's starting angle on the X, Y, and Z axes.
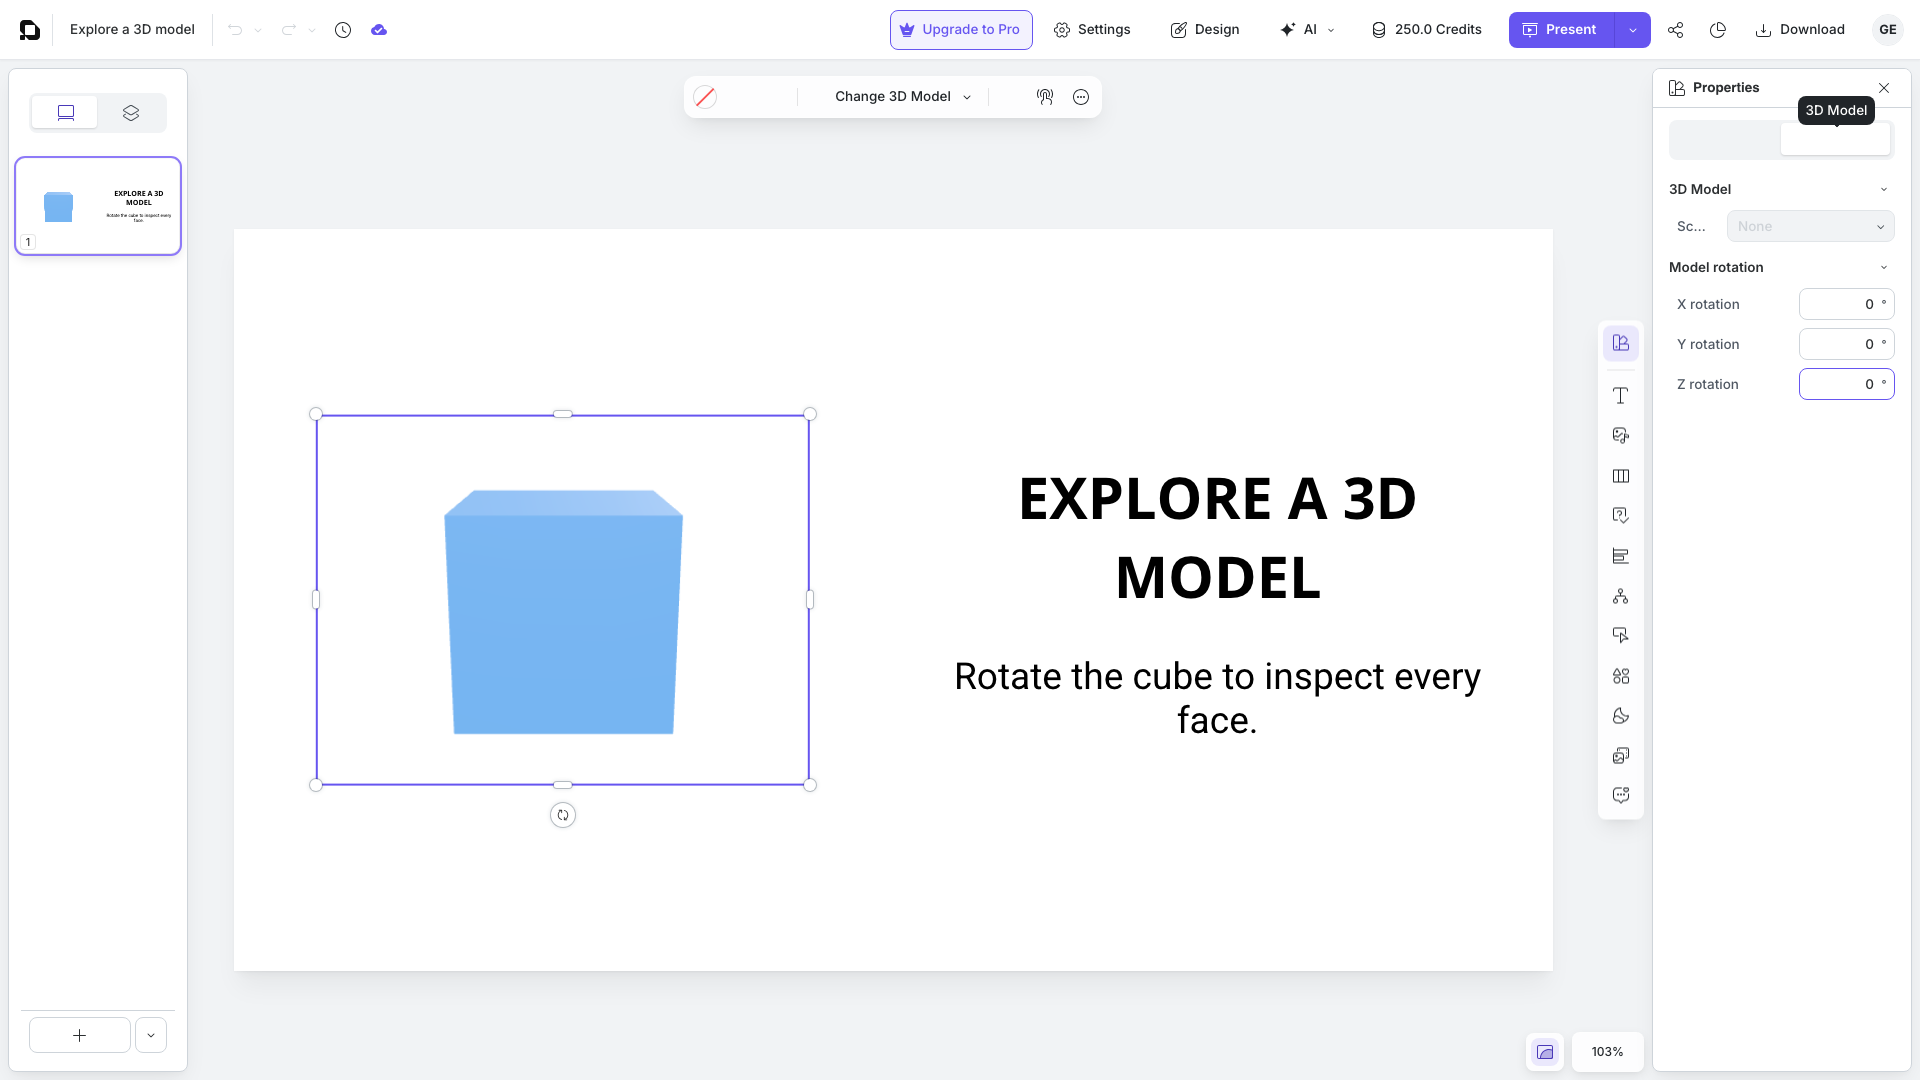
Enter a value from -360° to 360° for any axis you want to change. Think of the controls this way:
| Axis | What it changes |
|---|---|
| X rotation | Tilts the model forward or backward. |
| Y rotation | Turns the model left or right. |
| Z rotation | Rolls the model clockwise or counterclockwise. |
For the practice cube, try 20° for X, 35° for Y, and -10° for Z. The change appears on the canvas as soon as you commit each value.
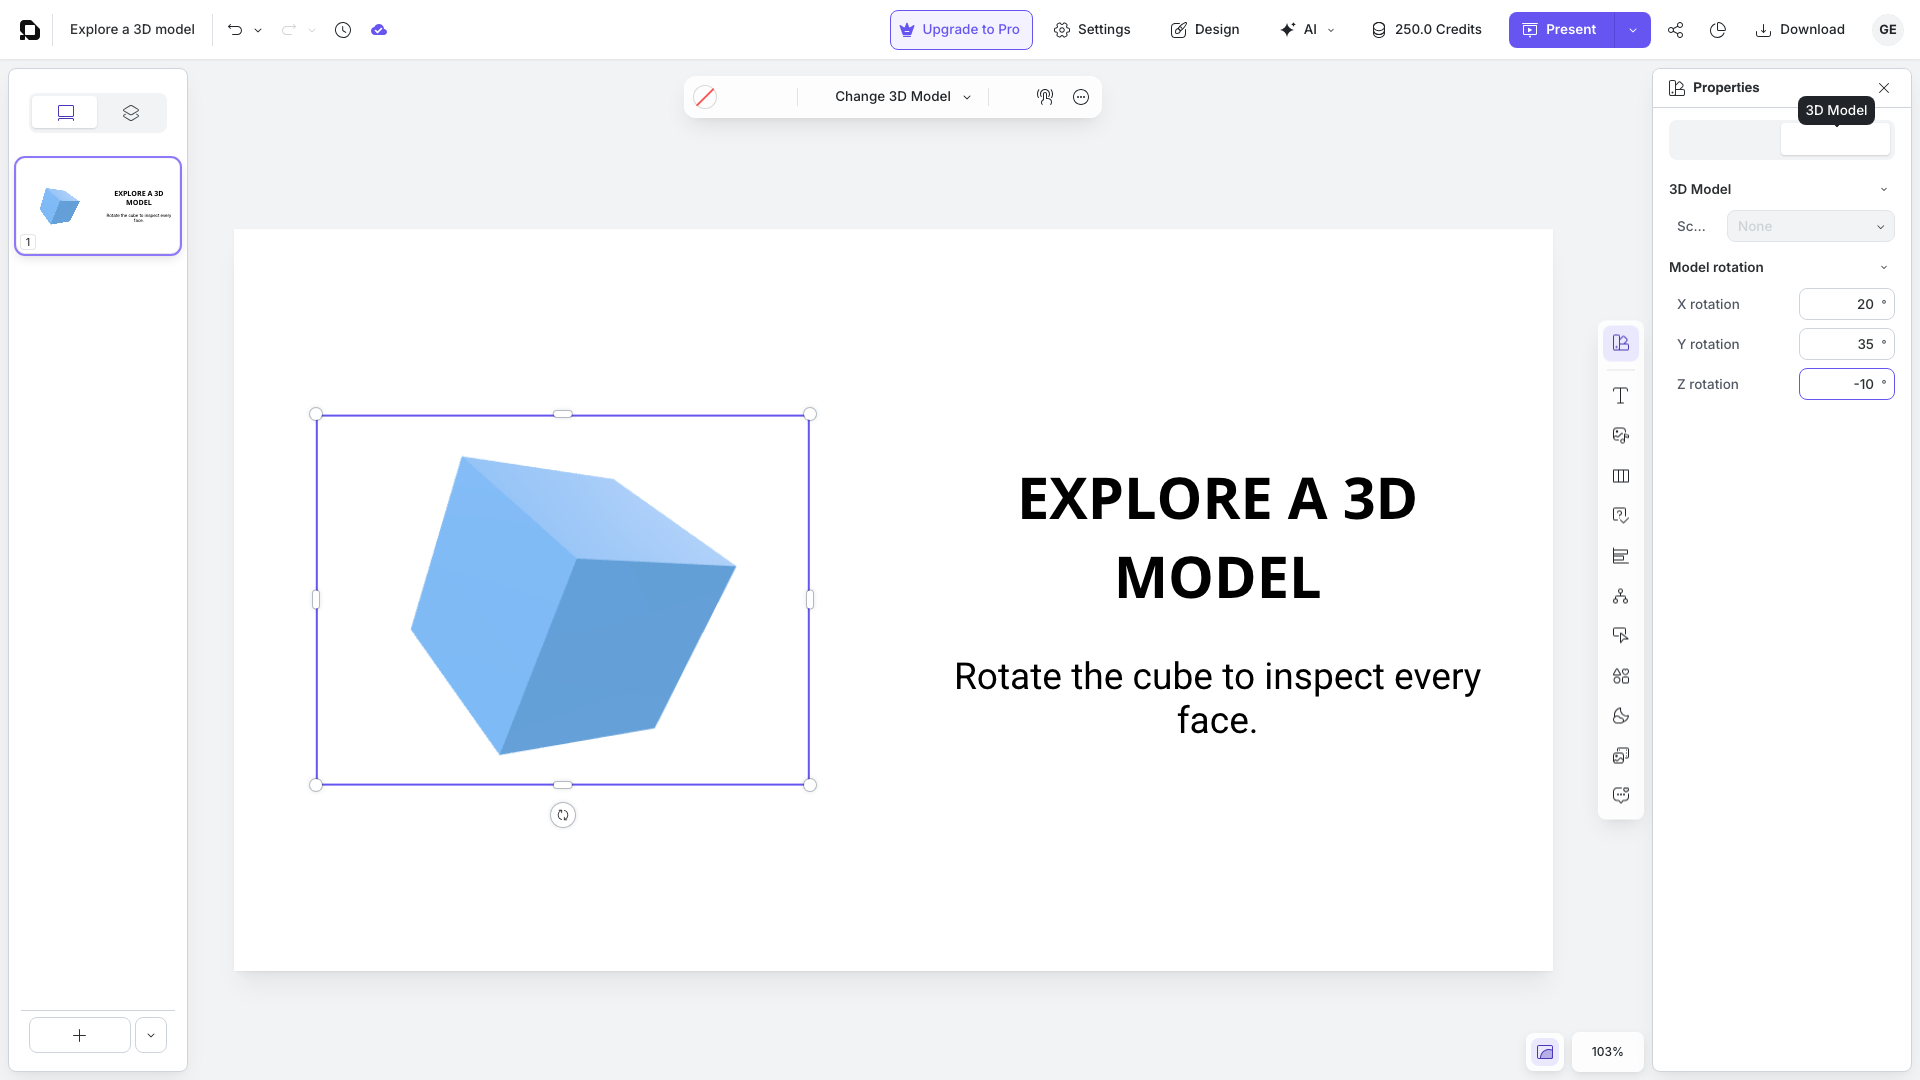
There are two different kinds of rotation in the editor. Model rotation changes the model's view inside its frame. The regular Rotate Z setting on the Styles tab rotates the entire object frame. Use Model rotation when your goal is to reveal another side of the object.
5. Replace The Model Without Rebuilding The Slide
Select the model, then open Change 3D Model in the floating toolbar.
- Select Upload 3D model to choose a new GLB or GLTF file.
- Select Resources to reuse a model that has already been uploaded.
The replacement keeps the object in the slide, so this is faster than deleting it and positioning a new object from the beginning. Check its size and starting rotation afterward because models can have different proportions and orientations.
6. Check The Learner Experience
Select Present in the top bar. Confirm that the model loads, has the intended starting angle, and does not cover important text or controls.
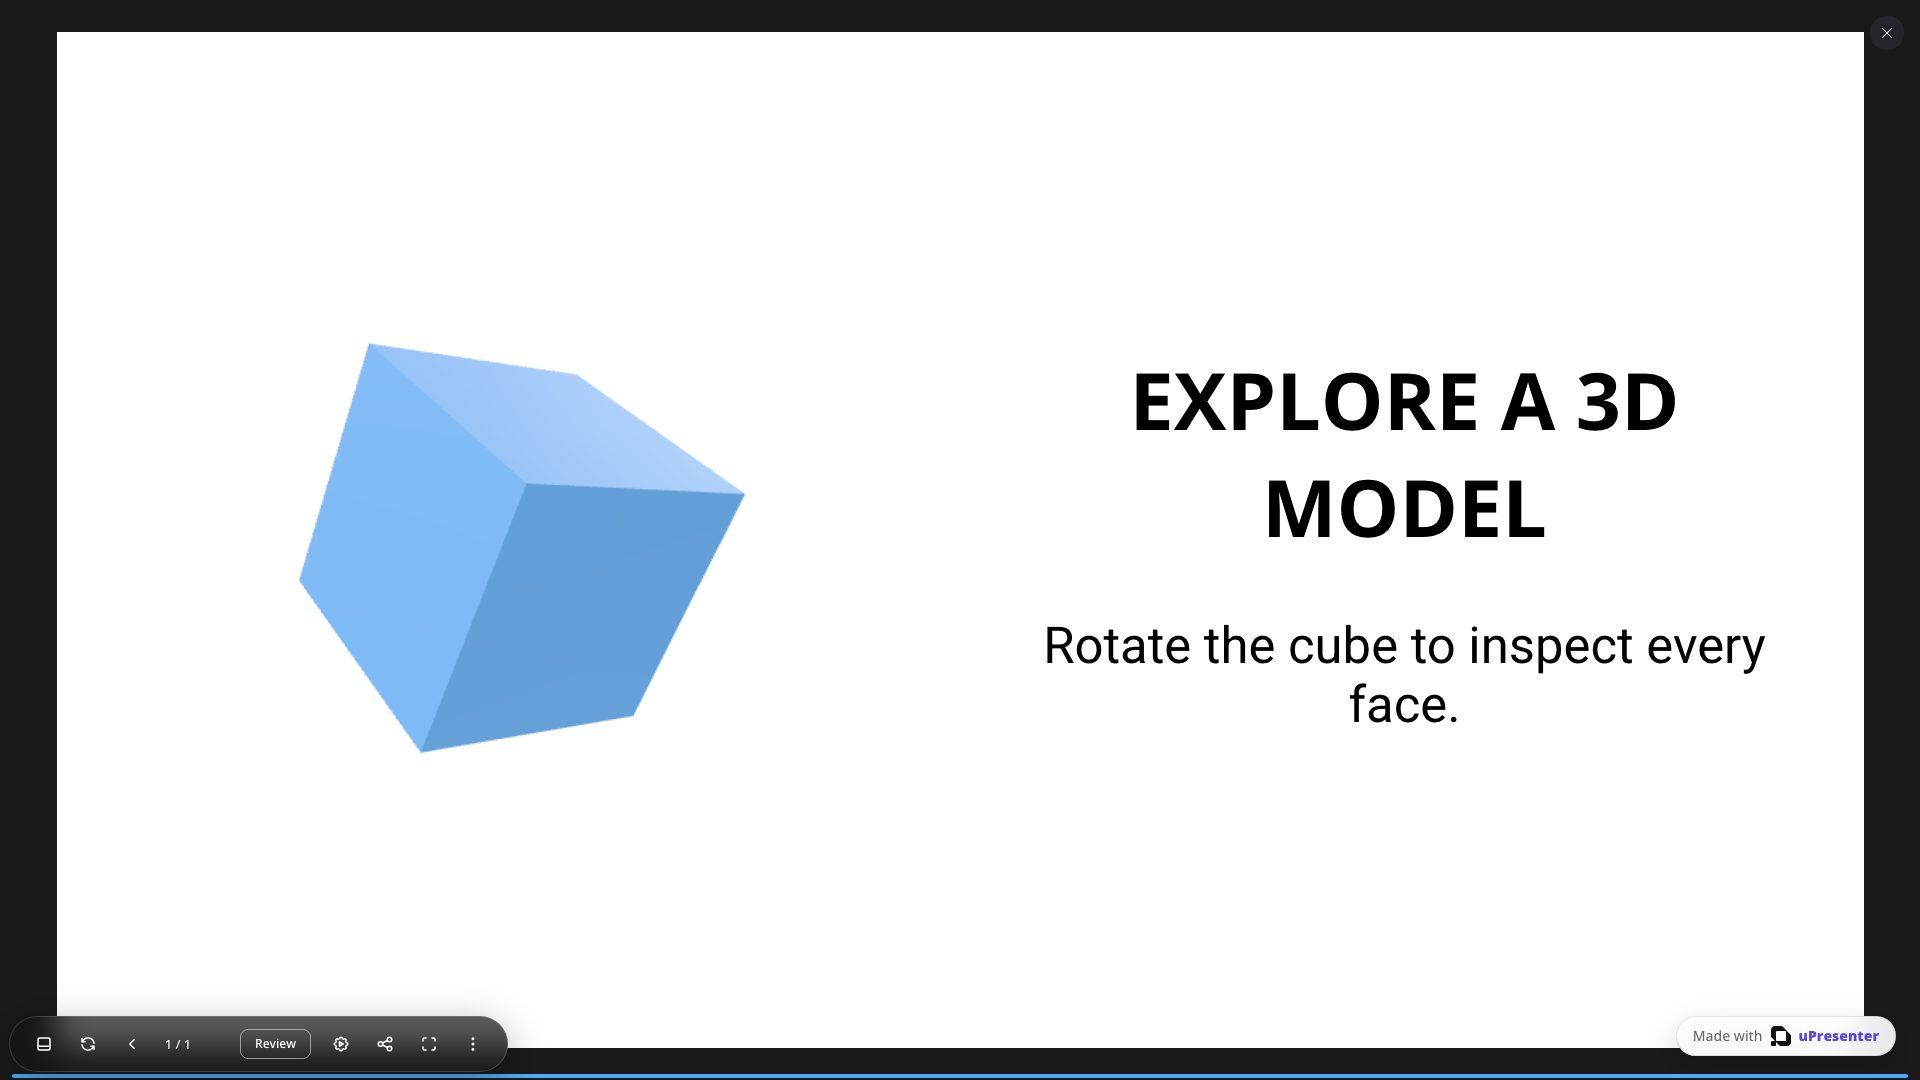
In the player, learners can use a mouse, touch gesture, or arrow keys to explore the model. Test the slide at the same screen size your learners are likely to use.
When you export the presentation as HTML5, xAPI, SCORM 1.2, or SCORM 2004, test the exported package as well. A package containing 3D models should be opened through an LMS or web server. Browsers may block the model when an exported package is opened directly from a local file on the device.
If The Model Does Not Look Right
- Nothing appears: wait for the upload to finish, then confirm that the file is GLB or GLTF and no larger than 50 MB.
- The model appears without textures: use a GLB file or a self-contained GLTF file whose materials and textures are embedded.
- Scene is unavailable: the model does not expose a compatible embedded scene or animation. You can still place and rotate it.
- The model is cropped: enlarge its frame or reduce its scale, then check it again in Present.
- The exported package shows a local-file warning: upload it to an LMS or serve it from a local web server instead of opening the HTML file directly.
Quick Check
Before you finish, make sure that:
- The model loads on the slide and in Present mode.
- Its size and position leave enough room for the rest of the content.
- The starting X, Y, and Z rotations show the most useful view.
- Any required embedded scene is selected.
- The published or exported version has been tested in its real delivery environment.
Previous: Style And Arrange Objects · Next: Upload, Reuse, And Manage Resources · Back to Part VII · Back to the full guide