
6.4: Style And Arrange Objects
The Styles tab in Properties is the shared workspace for precise object appearance. Use it to create a clear hierarchy, then use the selection More menu and Layers to control stacking, locking, grouping, and visibility.
1. Open An Object's Style Properties
Select an object on the canvas or in Layers, select Properties, and stay on the Styles tab.
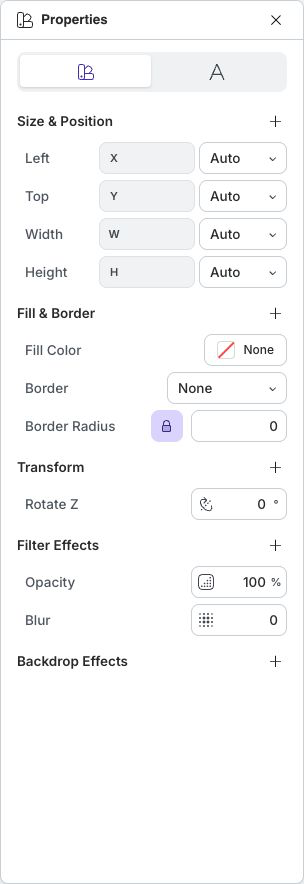
The visible sections depend on the object type. Common sections include Size & Position, Fill & Border, Transform, Filter Effects, Backdrop Effects, and Object State. Select Add property beside a section to add or remove optional controls.
2. Set Size And Position
Use Left, Top, Width, and Height for exact placement and dimensions. Depending on the presentation layout and object, a field can use a fixed value or an automatic layout value.
Additional Size & Position properties can include positioning mode, right and bottom offsets, margin, padding, overflow, alignment, grow, shrink, and base. Only add a property when the layout needs it; unnecessary overrides make responsive behavior harder to reason about.
For a fluid lesson, test automatic and relative layout behavior at narrow and wide preview sizes. For a fixed slide, use consistent coordinates and dimensions to align related objects.
3. Set Fill, Border, And Shadow
Open Fill Color to choose None, a solid color, a linear or radial gradient, or an image fill. Image fills can include fitting, position, repeat, and resource choices.
Under Border, choose None, Solid, Dotted, Dashed, Double, Groove, Ridge, Inset, or Outset. A visible border also exposes its width and color. Compatible box-shaped objects provide Border Radius.
Use Add property to show Box Shadow or Blend Mode. Prefer subtle shadows that clarify layering; a large dark shadow can make instructional text look blurry or detached from its object.
4. Transform The Object
Transform always provides Rotate Z for compatible objects. Through Add property, you can add X or Y rotation, X/Y/Z translation, X/Y/Z scale, X/Y skew, and perspective.
Transforms change the rendered object without changing the surrounding layout in the same way that normal size and position controls do. Check transformed objects for clipping, overlap, and readable text. Lines and connectors intentionally expose a smaller transform set so their endpoints remain reliable.
5. Use Filters And Backdrop Effects
Filter Effects change the selected object itself. Opacity and Blur are shown by default for objects; optional effects are Brightness, Contrast, Grayscale, Hue Rotation, Invert, Saturate, Sepia, and Drop Shadow.
Backdrop Effects change the content visible behind the object. The optional controls are Blur, Brightness, Contrast, Grayscale, Hue Rotation, Invert, Saturate, Sepia, and Drop Shadow.
A translucent panel with backdrop blur can improve text contrast over a photograph, but always check the result against both light and dark regions of the image.
6. Clip An Object With A Mask
Select the object, open More, and choose Clip shape.
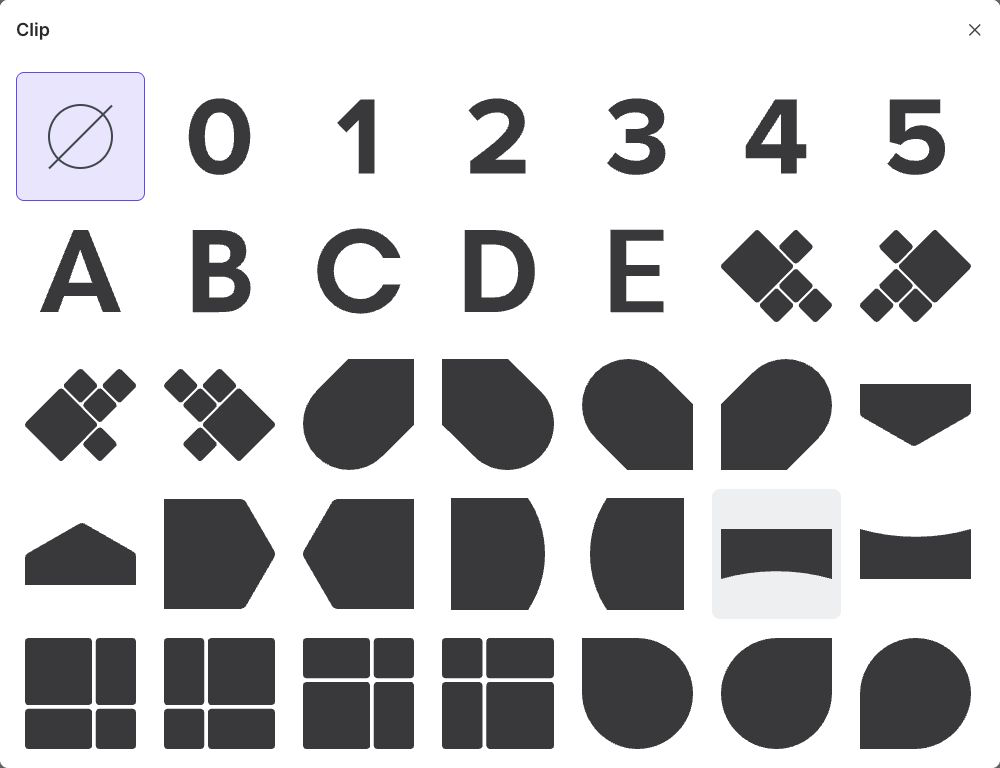
Select a mask to clip the object to that silhouette. After applying one, the Mask section in Properties can expose Position, Size, and Repeat controls. Open Clip shape again and choose None when you want to remove the mask.
Masks change the visible outline, not the object's basic rectangular selection area. Check spacing and overlap after applying one.
7. Arrange, Lock, Hide, And Group Objects
The selection More menu contains the common object commands.
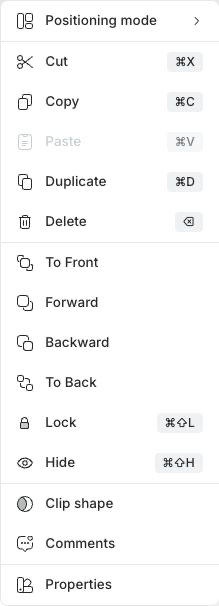
Use:
- Positioning mode, Cut, Copy, Paste, Duplicate, and Delete for the usual editing commands, each with its keyboard shortcut;
- To Front, Forward, Backward, and To Back to change stacking order;
- Clip shape and Comments for the selected object;
- Lock to protect an object's position from accidental edits;
- Hide to remove an object from the current authoring view or state without deleting it; and
- Properties to return to the selected object's settings.
For a complex slide, open Layers to see the complete stacking order and select objects that are covered on the canvas. Select two or more compatible objects and use Group so they can move and resize together. Select a group and use Ungroup when the children need to become independent again.
Lock finished background or decorative objects before editing items above them. Hiding is useful while working through overlapping elements, but confirm the intended visibility in Present mode before publishing.
Quick Check
Before finishing Part VI, make sure that you can:
- set exact size and position values without adding unnecessary layout overrides;
- use solid, gradient, or image fills with a readable border treatment;
- distinguish object filters from backdrop effects;
- apply and remove a mask;
- change stacking order and use Layers for covered objects; and
- lock, hide, group, and ungroup objects safely.
Previous: Use Icons, Graphics, And Buttons · Next: Add And Use A 3D Model · Back to Part VI · Back to the full guide